
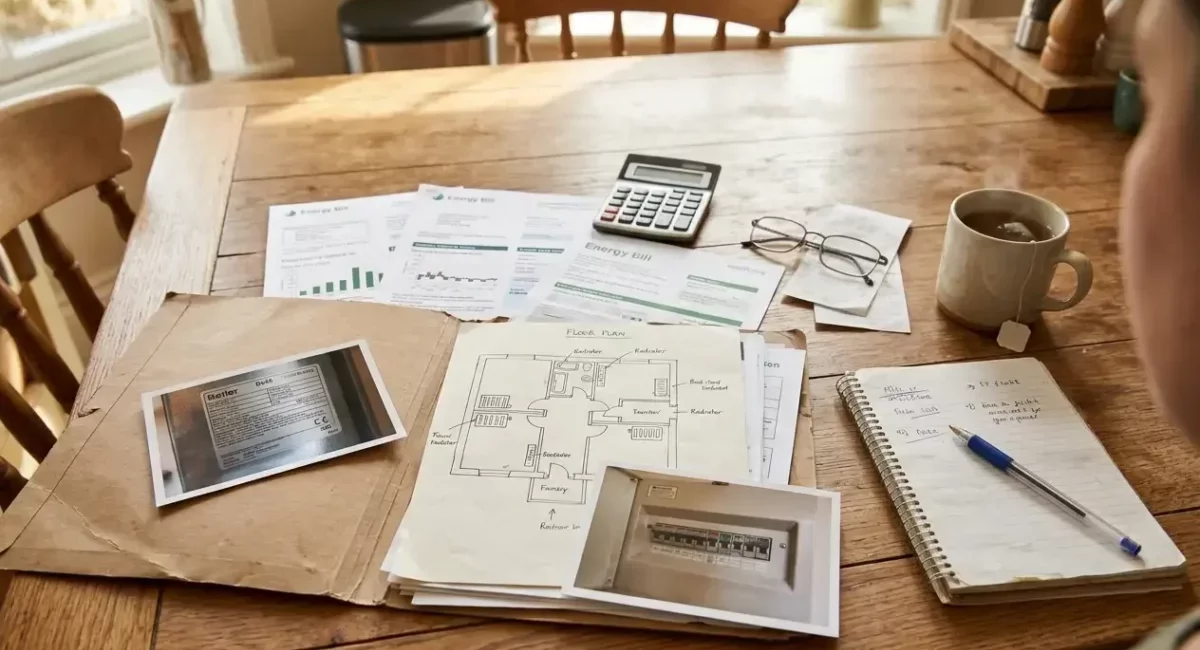
A heat pump survey is more useful when you arrive with your own information. Quotes for heat pumps vary far more than quotes for boilers, because the price depends on several things the installer has to find out: how much heat the house loses, which radiators can cope with cooler water, whether the cylinder is suitable, and where the outdoor unit can go. If you have already gathered that information, you can see whether the installer is measuring properly or working from assumptions.
This guide covers how to prepare your home for a heat pump in the weeks before the first visit. None of it needs specialist tools. It needs a tape measure, a notebook, your bills and a couple of hours walking round the house. It does not cover vetting installers, comparing quotes or running the system in winter. The site has separate guides for those.
Before the survey in short
- Get a rough heat loss figure from your EPC and a year of gas bills, so you can check the installer’s number.
- Walk the house on a cold day and note each radiator’s type, size and how well the room heats.
- Try a lower boiler flow temperature (around 50°C) to see which rooms struggle.
- Find space for a cylinder and the outdoor unit, and photograph the consumer unit.
- Do the cheap insulation first, and tell the installer about anything you plan later.
- Take a folder of bills, photos, notes and questions to the survey.
Why the survey goes better when you have done the groundwork
A good survey takes time. The installer should measure rooms, check windows and walls, look at every radiator, inspect the cylinder and pipework, and find a place for the outdoor unit. A survey that lasts twenty minutes and ends with a figure quoted from the doorstep has probably skipped most of that.
When you know your own house, you ask better questions and notice gaps in the answers. You can also give the installer facts that change the design: the back bedroom that never warms up, the extension planned for next year, and the loft you intend to insulate. Anything you tell them at the survey stage can go into the calculation. Anything you mention after installation is a variation or a compromise.
Preparation also protects you from the other extreme: a system sized too large “to be safe”. An oversized heat pump costs more to buy and tends to cycle on and off, which does it no favours. Knowing roughly what your house needs gives you a reference point.
Find out how much heat your house loses before anyone quotes
Heat loss is the amount of heat, in watts, that a room or house loses on a very cold design day when you want it held at a set temperature. The heat pump has to replace that loss. Everything else follows from this figure, so it is the first thing to look at.
A proper calculation is done room by room, using the dimensions, construction, glazing and air leakage of each space. Installers working to MCS standards have to produce one. You will not reproduce it at home, but you can build a rough picture that lets you check theirs.
Use your EPC as a starting point
Search for your Energy Performance Certificate on the government’s find-an-energy-certificate service. It lists an estimated annual space heating demand and a set of recommendations, usually for insulation. EPCs are modelled from limited data and are sometimes out of date or wrong, so treat the figures as a guide. They are still useful because they tell you what an assessor thought of the walls, loft and windows, and you can spot errors. If the certificate says your loft has no insulation and you topped it up three years ago, mention it to the installer.
Note the certificate number. Since April 2026 a valid EPC is no longer a requirement for the Boiler Upgrade Scheme, but it is still useful evidence for the installer and the grant paperwork.
Cross-check with your gas bills
Your gas consumption gives a second estimate. Take twelve months of gas use in kWh. Look at the summer months, when the heating is off, to see what hot water and cooking use. Multiply that summer monthly figure by twelve and subtract it from the annual total. What remains is roughly the gas used for space heating. Multiply by your boiler’s approximate efficiency, which is often somewhere in the region of 80 to 90% for an older condensing boiler, and you have the heat delivered to the house.
This is a rough method. It depends on how warm you kept the house, and a household that was cold for years will have a lower figure than the house really needs. It still gives you an order of magnitude to compare against the installer’s number. If their calculation produces a very different annual demand from what your bills suggest, ask them to explain the difference.
Decide your target temperatures
The calculation depends on the temperature you want in each room. Common design figures are around 21°C for living rooms and 18°C for bedrooms, with bathrooms set higher. If you like the bedrooms warmer, or you will be home all day and want a warm study, say so. Telling them afterwards means the radiators were sized for a house you do not live in.
Walk the house room by room and note what your radiators are doing
Do this on a cold day with the heating running, ideally after it has been on for a few hours. Take a notebook and write a short entry for each room. Record:
- The radiator type: single panel, double panel, or double panel with fins (convector). Look at the edge and the back. Fins welded behind the panel mean it is a convector.
- Approximate width and height, in millimetres if you can.
- Where it sits, for example, under a window or on an internal wall.
- Whether it heats evenly. A radiator that is hot at the top and cold at the bottom may be sludged. A cold patch at the top suggests trapped air, and our guide on how to bleed a radiator properly covers that fix.
- Whether the room reaches the temperature you want on the coldest days or struggles.
- The number of external walls, the type of windows, and the floor beneath (solid, suspended timber, or another room).
- Any signs of damp, mould or condensation.
- Any planned changes, such as a loft conversion, an extension or a knocked-through wall.

The rooms that already struggle are the ones to watch. A radiator that cannot keep a room warm at 70°C flow will not do it at 45°C. Those rooms are where the installer will propose changes, and your notes show whether the radiator or the room itself is the problem.
Try a lower flow temperature if your boiler allows it
Many boilers have a flow temperature setting, either on a dial or in a menu. Over a cold spell, you can reduce it to around 50°C and see which rooms still reach temperature. Check your boiler manual first, and do not touch anything you are unsure about. If your system is a combi, make sure you are changing the heating flow setting and not the hot water one.
Whatever the result, you now have evidence. The rooms that stay comfortable at a lower setting are likely to cope with a heat pump. The ones that fall behind are the candidates for larger radiators.
Radiator sizing at lower flow temperatures: what will stay and what will change
A gas boiler usually sends water to the radiators at 70°C or higher. A heat pump works most efficiently when the water is much cooler, commonly somewhere between 35°C and 50°C. The cooler the water, the less electricity it uses per unit of heat delivered, so installers aim for the lowest flow temperature that still keeps the house comfortable.
A radiator’s output depends on the difference between the water temperature and the room temperature. Manufacturers publish headline outputs at a high water temperature. At a flow of 45°C, the same radiator gives out well under half its headline figure. That is why a heat pump system either needs bigger emitters or has to run hotter, and running hotter lowers efficiency.
| Flow temperature | Typical use | Radiator output compared with its headline figure |
|---|---|---|
| 70 to 75°C | Older gas boiler settings | Roughly 85 to 100% |
| 55°C | A higher-temperature heat pump design | Roughly 55% |
| 50°C | A common heat pump design point | Roughly 45% |
| 45°C | An efficient heat pump design | Roughly 35% |
| 35 to 40°C | Underfloor heating, or very generously sized radiators | Roughly 15 to 25% |
Approximate figures for a radiator in a room held at 21°C, assuming the water cools by about 5°C through the radiator, compared with the output manufacturers publish at ΔT50 (water around 70°C in a 20°C room). The installer’s calculation uses the exact figures for each radiator.
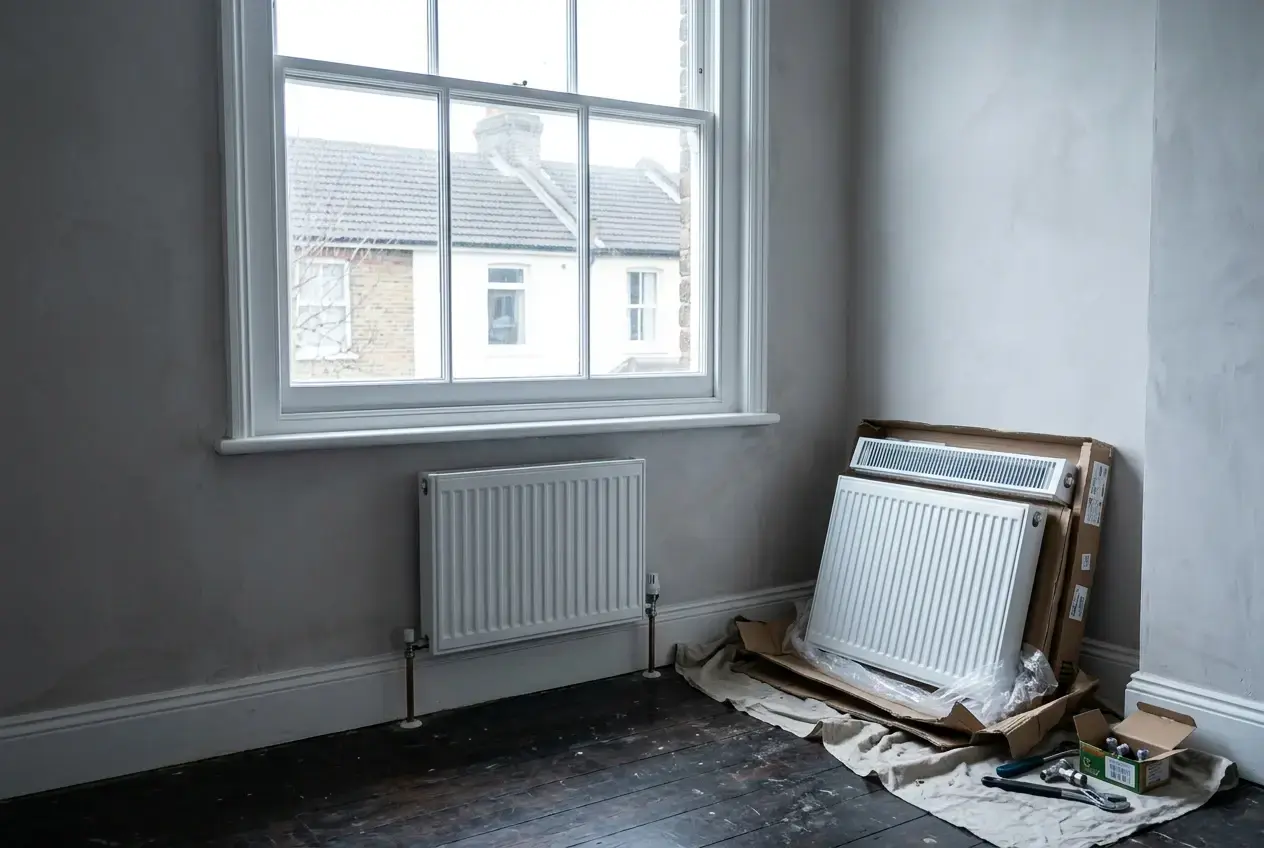
| Likely to stay | Likely to change |
|---|---|
| Large double-panel convectors in rooms with modest heat loss | Single-panel radiators in living rooms and larger bedrooms |
| Radiators that were generously sized in the first place | Small radiators under big windows |
| A big radiator in a well-insulated bedroom | Bathroom towel rails, where the target temperature is higher |
| Radiators in extensions and conservatories |
Rooms where the radiator cannot get bigger, because of wall space or furniture, need a different answer: a fan-assisted radiator, underfloor heating (practical mainly where a floor is being lifted anyway), or accepting a higher flow temperature for that room.
Ask the installer to list radiator by radiator what stays, what changes and why, with a separate price for each change. If the quote only says “radiators as required”, you cannot judge it.
Upgrading radiators is rarely all-or-nothing. You can leave the radiators that cope and replace only the ones that do not, as long as the heat loss figures support that.
Hot water cylinder, pipework and where the equipment will physically go
The cylinder
Homes with a combi boiler have no cylinder. A heat pump needs one, so you need to find space for a tall insulated cylinder, plus room around it for pipework and access. Airing cupboards are the usual choice but may not always be possible. Check the ceiling height, the floor strength and whether the route to the cupboard is wide enough to carry a cylinder in. A loft is rarely a good position because of the weight and the pipework involved.
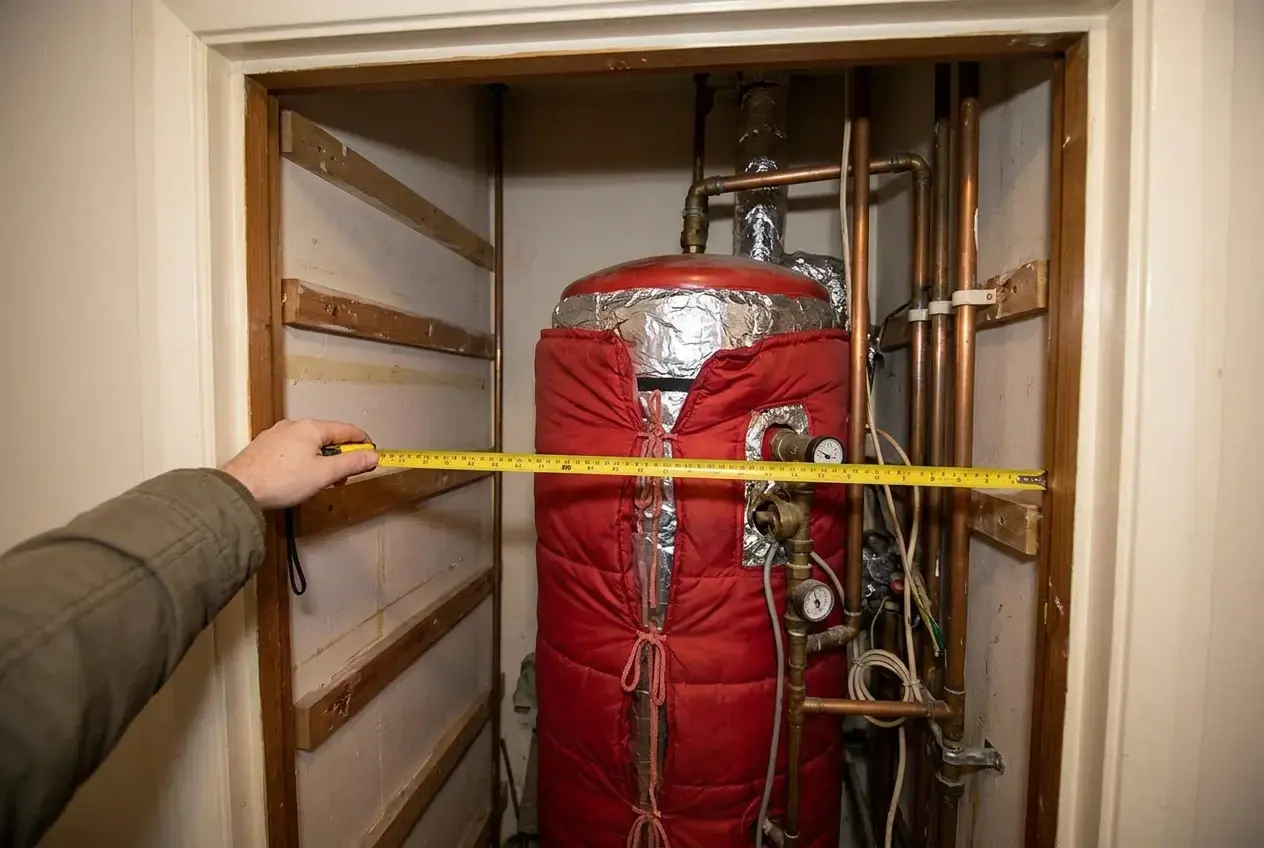
If you already have a cylinder, photograph its label and note the size, make, age and whether it is vented or unvented. A heat pump needs a cylinder with a large enough internal coil to transfer heat at low temperatures. Many older cylinders have coils designed for boiler water at a much higher temperature and may not be adequate, though the installer will confirm. The installer should also tell you how the system will deal with the periodic higher-temperature cycle used to control Legionella and what that costs you in running terms.
Size depends on the number of people in the house and how you use hot water. Tell the installer about big baths, a second shower in regular use, or guests, since these change the recommendation.
Pipework
Heat pump systems circulate more water than boiler systems because the temperature difference between flow and return is smaller. That makes pipe diameter matter. Main runs in 22mm copper are generally fine. Long stretches of 15mm, or microbore pipes, can restrict flow. Look at what you can see in the loft, under the stairs and around the boiler, and note the diameter. Pipes buried in screed or under fixed floors cannot be inspected, so tell the installer you do not know what they are rather than guessing.
The outdoor unit
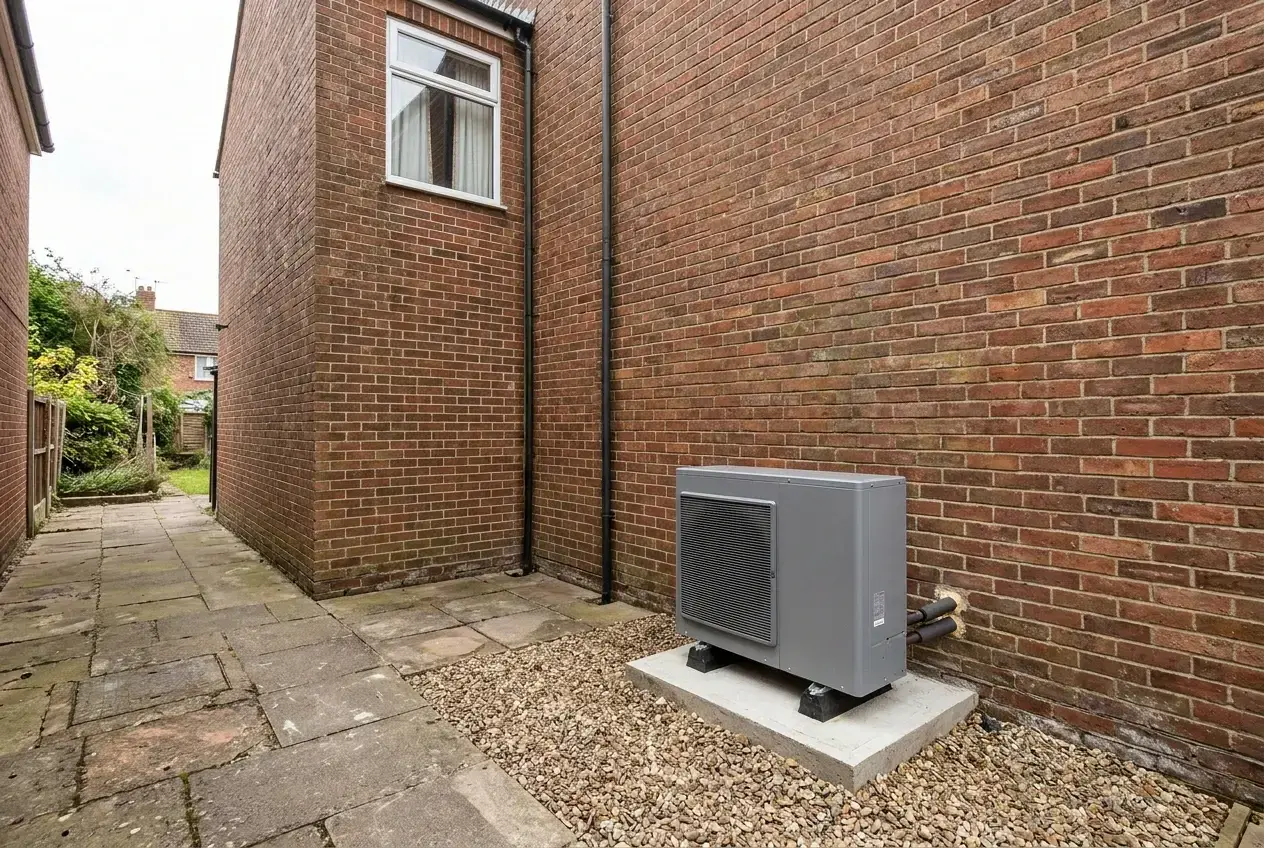
Walk round the outside of the house and think about where the unit could sit. Consider these points:
- Distance from the cylinder. A shorter run means less pipework and less heat loss.
- Airflow. The unit needs clear space around it and must not be boxed into an alcove where cold air recirculates.
- Noise. Avoid positions directly under bedroom windows, yours or your neighbours’, and consider how the sound will carry off a wall.
- Condensate. The unit produces water in cold weather, so it needs somewhere to drain that will not turn into an ice patch on a path.
- Access for servicing, and a flat, stable base or a suitable wall bracket.
Planning rules and noise limits differ across England, Scotland, Wales and Northern Ireland, and conservation areas and listed buildings have extra restrictions. The installer should check this at the survey. If you live in a flat, a terrace or a listed property, raise it before anything else.
Electrics
Take a photo of your consumer unit (fuse box) and your electricity meter. The installer will want to check there is spare capacity and may recommend an upgrade. It helps if you have seen the board first and know what age it is.
Insulation and draught fixes that can be done first
Insulation reduces the heat the pump has to produce, which can mean a smaller unit and lower running costs. It does not have to be done before installation, and some of it is best planned alongside the heat pump rather than ahead of it. Our home insulation guide covers the options in depth.
Worth doing first
- Topping up loft insulation, which is cheap and has an immediate effect.
- Draught-proofing doors, the letterbox, the loft hatch and gaps around floorboards and skirting.
- Cavity wall insulation, if a surveyor confirms the walls are suitable.
- Lagging exposed hot water pipes and the cylinder if it is staying.
Better to leave until you have talked to the installer
- Replacing windows, which is expensive and usually not the best return for heat loss alone.
- Internal or external wall insulation on solid walls, which is disruptive and costly.
- Floor insulation, which may be easier when radiators or pipes are being altered anyway.
If you plan any of these, tell the installer. They can calculate heat loss for the house as it will be, which may allow a smaller unit and fewer radiator changes. Keep invoices and guarantees for any insulation work, because they may be needed later.
Seal draughts sensibly. Do not block trickle vents or extractor fans in kitchens and bathrooms. Moisture needs somewhere to go, and a tighter house still needs ventilation.
Questions to put to the installer at the survey
Write these down and take them with you. If you also need to check an installer’s credentials and track record, our guide to choosing the right heat pump installer covers that side.
- Will you provide a room-by-room heat loss calculation, and can I see it?
- What design flow temperature are you using, and what seasonal efficiency do you expect at that temperature?
- Which radiators are staying and which are changing? Can I have each one priced separately?
- Is my existing cylinder suitable? If not, what size are you proposing and why?
- Do the pipes need replacing anywhere, and do you know what pipes run under the floors?
- Where does the outdoor unit go, and have you checked noise and planning requirements?
- What electrical work is needed, including the consumer unit?
- Who applies for any grant, and how is it shown on the invoice?
- What happens at commissioning, and what do I receive afterwards (settings, documentation, guarantees)?
- How long will the installation take, and how long will I be without heating or hot water?
Listen to how they answer as well as what they say. An installer who has measured carefully will answer in specifics. Vague answers about “typical” systems suggest the design has not been done yet.
Grant paperwork and documents to have on the kitchen table
Funding depends on where you live and changes over time, so check the current terms before relying on any figure. In England and Wales, the Boiler Upgrade Scheme gives £7,500 towards an air source or ground source heat pump; the installer applies on your behalf, and the grant is taken off your bill. In Scotland, support goes through Home Energy Scotland. Northern Ireland has its own arrangements. In every case, you will usually need an MCS-certified installer.

Put these together in a folder before the survey.
-
Your survey folder
- Your EPC and its certificate number, if you have one.
- Twelve months of gas and electricity bills, or annual usage figures from your supplier’s online account.
- Proof of ownership and the full property address.
- Photos of the boiler label, the cylinder label, the consumer unit and the meter.
- A rough floor plan, even a hand-drawn sketch, with room sizes and the radiators marked.
- Your room-by-room notes from the walk-round.
- Invoices and guarantees for previous insulation, window or heating work.
- Details of any planned extensions, conversions or insulation.
- Notes on conservation area, listed building or leasehold restrictions, if they apply.
With these on the table, the survey becomes a conversation about your house rather than a questionnaire, and the quote that follows is easier to judge line by line.
Preparing for a heat pump survey: questions
How long does a heat pump survey take?
A thorough survey usually takes one to three hours, depending on the size of the house. One that lasts twenty minutes and ends with a figure from the doorstep has probably skipped the room-by-room measurements.
Do I need to replace all my radiators for a heat pump?
Rarely. Larger double-panel radiators in rooms with modest heat loss often stay. The installer should list which radiators change and why, based on the room-by-room heat loss figures.
Do I need an EPC to get the Boiler Upgrade Scheme grant?
Not since April 2026. A valid EPC helps, but where there is none the installer can provide other evidence, such as a utility bill or photos of the existing heating system.
Should I insulate before getting a heat pump?
Do the cheap measures first: loft top-up, draught-proofing and cavity wall insulation where suitable. Larger jobs such as solid wall insulation can be planned with the installer, who can size the system for the house as it will be.
Can I have a heat pump with a combi boiler’s pipework?
Usually, but the pipe sizes matter, because a heat pump moves more water than a boiler. Long runs of 15mm or microbore pipe can restrict flow, and you will need space for a hot water cylinder.
Once you have your notes together, request a heat pump quote through our heat pump quote page and take them to the survey.